
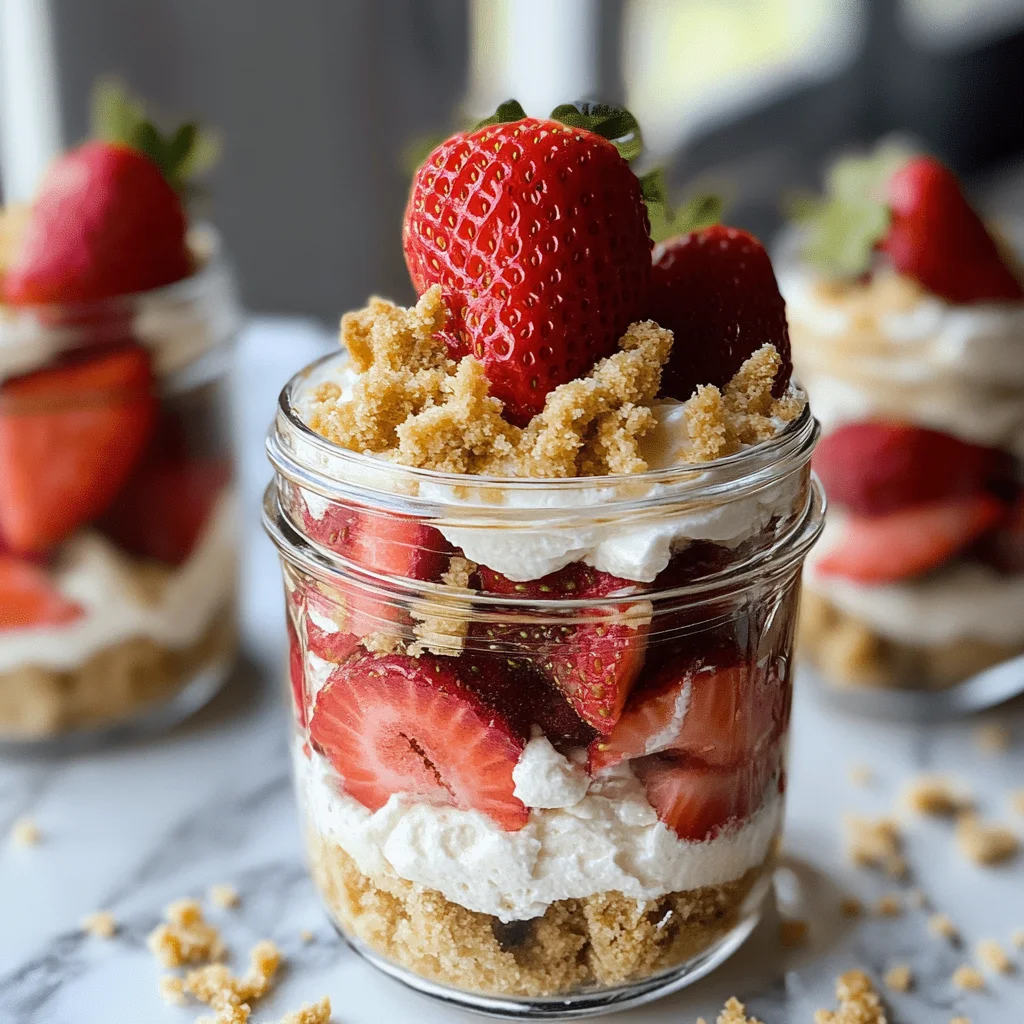
These No-Bake Strawberry Cheesecake Jars are a delightful summer dessert that brings together layers of creamy cheesecake, zesty lemon, and fresh strawberries. Perfect for picnics, backyard barbecues, or just a sweet treat at home, these jars are as visually appealing as they are delicious. Each spoonful offers a refreshing taste that is sure to impress your family and friends.
Why You’ll Love This Recipe
- Easy Preparation: No baking required! Just mix and layer for a quick dessert.
- Fresh Ingredients: Made with real strawberries and lightened-up cream cheese for a guilt-free indulgence.
- Perfect for Any Occasion: Great for summer gatherings, birthdays, or even an afternoon snack.
- Customizable Layers: Feel free to add your favorite fruits or swap out the strawberries for other berries.
- Portion Control: Individual jars make it easy to serve and enjoy without overindulging.
Tools and Preparation
Preparing No-Bake Strawberry Cheesecake Jars is simple with the right tools. Having the necessary equipment on hand will streamline the process and ensure success.
Essential Tools and Equipment
- Food processor
- Mixing bowl
- Hand mixer
- Mason jars (8-ounce)
- Spoon
Importance of Each Tool
- Food processor: Quickly turns vanilla wafers into fine crumbs, saving time and effort.
- Hand mixer: Ensures a smooth and creamy cheesecake filling in just minutes.
- Mason jars: Perfect for layering your dessert while providing an attractive presentation.
Ingredients
These No-bake Strawberry Cheesecake Jars are the perfect summer dessert recipe. Each jar includes individual layers of lightened up no-bake cheesecake, organic vanilla wafer crumbs, lemon, and strawberries. This sweet treat is perfect for enjoying during the spring and summer months!
For the Crust
- 8 ounce package high-quality vanilla wafers
- 3 tablespoons unsalted butter (melted)
For the Cheesecake Filling
- 8 ounces reduced-fat cream cheese (softened)
- ½ cup plain Greek yogurt (this is equal to a 5.3 ounce container)
- ¼ cup granulated sugar
- 1/2 teaspoon vanilla
- zest of 1 lemon
- 1 teaspoon lemon juice
- 1 ½ cups high-quality whipped topping (I use Truwhip)
For the Strawberries
- 4 cups hulled and quartered strawberries (divided)
How to Make No-Bake Strawberry Cheesecake Jars
Step 1: Prepare the Crust
- Place the vanilla wafers into a food processor. Process until they become fine crumbs.
- Pour in the melted butter. Process for about 3-5 seconds until the mixture looks clumpy.
- Measure out about 2 tablespoons of crumb mixture into each mason jar. Press down slightly with a spoon.
Step 2: Chill the Crust
- Place the jars in the refrigerator to firm up while you prepare the cheesecake filling.
Step 3: Make the Cheesecake Filling
- In a large mixing bowl, combine cream cheese, Greek yogurt, and sugar.
- Use a hand mixer to beat on high speed until smooth and creamy.
- Add in vanilla extract, lemon zest, and lemon juice. Beat again for another 30 seconds until blended.
Step 4: Combine with Whipped Topping
- Gently fold in the whipped topping and 1 cup of the quartered strawberries into the cream cheese mixture.
Step 5: Assemble the Jars
- Remove jars from refrigerator.
- Spoon about 2-3 tablespoons of cheesecake filling into each jar.
- Layer about 2-3 tablespoons of remaining strawberries between jars.
- Divide any remaining cheesecake filling among jars followed by any leftover strawberries.
Step 6: Chill Before Serving
- Place lids on jars and refrigerate for 1-2 hours or overnight before serving cold.
Enjoy your refreshing No-Bake Strawberry Cheesecake Jars!
How to Serve No-Bake Strawberry Cheesecake Jars
These delightful No-Bake Strawberry Cheesecake Jars can be served in a variety of ways to enhance your dining experience. Whether for a casual family gathering or a festive celebration, these jars can be dressed up or down to suit any occasion.
Individual Desserts
- Each jar is perfectly portioned for individual servings, making them ideal for parties or potlucks.
Garnish with Fresh Mint
- Add a sprig of fresh mint on top of each jar for a pop of color and a refreshing flavor that complements the strawberries.
Pair with Coffee or Tea
- Serve these jars alongside a cup of coffee or tea. The creamy cheesecake and tangy strawberries balance well with warm beverages.
Create a Dessert Bar
- Set up a dessert bar where guests can customize their jars with additional toppings like crushed nuts, coconut flakes, or extra fruit.
Use Decorative Jars
- Present the cheesecake in decorative jars to elevate the visual appeal. Consider mason jars in different sizes or colorful glass containers.
Enjoy Outdoors
- Perfect for picnics and outdoor gatherings, these jars are easy to transport and serve chilled in nature’s embrace.
How to Perfect No-Bake Strawberry Cheesecake Jars
To ensure your No-Bake Strawberry Cheesecake Jars turn out as delicious as possible, follow these tips for the best results.
- Use High-Quality Ingredients: Select fresh strawberries and high-quality cream cheese for the best flavor and texture.
- Chill Properly: Allow ample time for the jars to chill in the refrigerator, ensuring that the filling firms up nicely before serving.
- Layer Thoughtfully: Carefully layer the cheesecake filling and strawberries to create visually appealing stripes within the jar.
- Taste as You Go: Adjust sweetness by tasting the cream cheese mixture. Add more sugar if desired before folding in the whipped topping.
- Experiment with Flavors: Try adding other fruit purees or flavored extracts to customize the cheesecake filling to your liking.
- Seal Tightly: Ensure you close the lids tightly on the jars before refrigerating to maintain freshness and prevent odors from affecting your dessert.
Best Side Dishes for No-Bake Strawberry Cheesecake Jars
Pairing side dishes with your No-Bake Strawberry Cheesecake Jars can enhance your overall meal experience. Here are some tasty options:
-
Fresh Fruit Salad
A mix of seasonal fruits adds brightness and complements the flavors of strawberry cheesecake. -
Lemon Sorbet
This light and refreshing frozen treat offers a zesty contrast to the creamy cheesecake jars. -
Crispy Veggies with Hummus
Crunchy vegetables served with hummus provide a savory balance that makes for an enjoyable appetizer before dessert. -
Classic Garden Salad
A simple salad dressed with lemon vinaigrette brings freshness and lightness, perfect before indulging in rich desserts. -
Mini Caprese Skewers
Cherry tomatoes, mozzarella balls, and basil drizzled with balsamic glaze make an elegant finger food that pairs well with sweets. -
Cheese Board
Offer an assortment of cheeses and crackers; this savory option provides variety while allowing guests to nibble before dessert. -
Chocolate-Dipped Pretzels
The sweet and salty combination makes these pretzels a fun snack that works well alongside sweet treats like cheesecake jars. -
Grilled Peaches
Caramelized peaches bring out natural sweetness while offering a warm fruit option that contrasts beautifully with cold desserts.
Common Mistakes to Avoid
Making No-Bake Strawberry Cheesecake Jars can be simple, but there are common mistakes that can affect the final result. Here are some to watch out for:
- Using stale wafers: Ensure your vanilla wafers are fresh for the best flavor and texture. Stale wafers can lead to a less enjoyable crunch.
- Not softening cream cheese: If the cream cheese isn’t softened properly, it won’t blend smoothly. Always let it sit at room temperature before mixing.
- Overmixing the filling: Overmixing can cause the mixture to become too thin. Mix just until combined for a perfect creamy texture.
- Ignoring chill time: Skipping the refrigeration step can result in a runny dessert. Always chill your jars for at least 1-2 hours to set properly.
- Uneven layering: To achieve an appealing look, layer evenly and avoid overfilling any one layer. This makes each bite delightful.
Refrigerator Storage
- Store the jars in airtight containers to keep them fresh.
- Refrigerate for up to 3 days for optimal taste and texture.
Freezing No-Bake Strawberry Cheesecake Jars
- You can freeze these jars for up to 2 months.
- Use freezer-safe containers or mason jars with tight-fitting lids.
Reheating No-Bake Strawberry Cheesecake Jars
- Oven: Preheat your oven to a low temperature and place jars inside briefly until slightly warm; this may alter texture.
- Microwave: Heat on low power in short intervals (10-15 seconds) until just warmed, but not hot.
- Stovetop: Place jars in a pan of warm water on low heat; this method is gentle and helps retain texture.
Frequently Asked Questions
What are No-Bake Strawberry Cheesecake Jars?
No-Bake Strawberry Cheesecake Jars are individual desserts made with layers of creamy cheesecake filling, fresh strawberries, and crunchy vanilla wafer crumbs.
How do I customize my No-Bake Strawberry Cheesecake Jars?
You can customize these jars by adding different fruits like blueberries or raspberries, or using flavored yogurt instead of plain Greek yogurt for a twist.
Can I make No-Bake Strawberry Cheesecake Jars ahead of time?
Yes! These jars are perfect for making ahead. They can be prepared a day in advance and stored in the refrigerator until ready to serve.
How long do No-Bake Strawberry Cheesecake Jars last?
When stored properly in the refrigerator, they will last about 3 days. If frozen, they can be kept for up to 2 months.
Final Thoughts
These No-Bake Strawberry Cheesecake Jars are not only delicious but also versatile. With their refreshing taste and customizable layers, they make an ideal dessert for any occasion. Give this recipe a try and feel free to experiment with different flavors and toppings!

No-Bake Strawberry Cheesecake Jars
- Total Time: 0 hours
- Yield: Approximately 6 servings 1x
Description
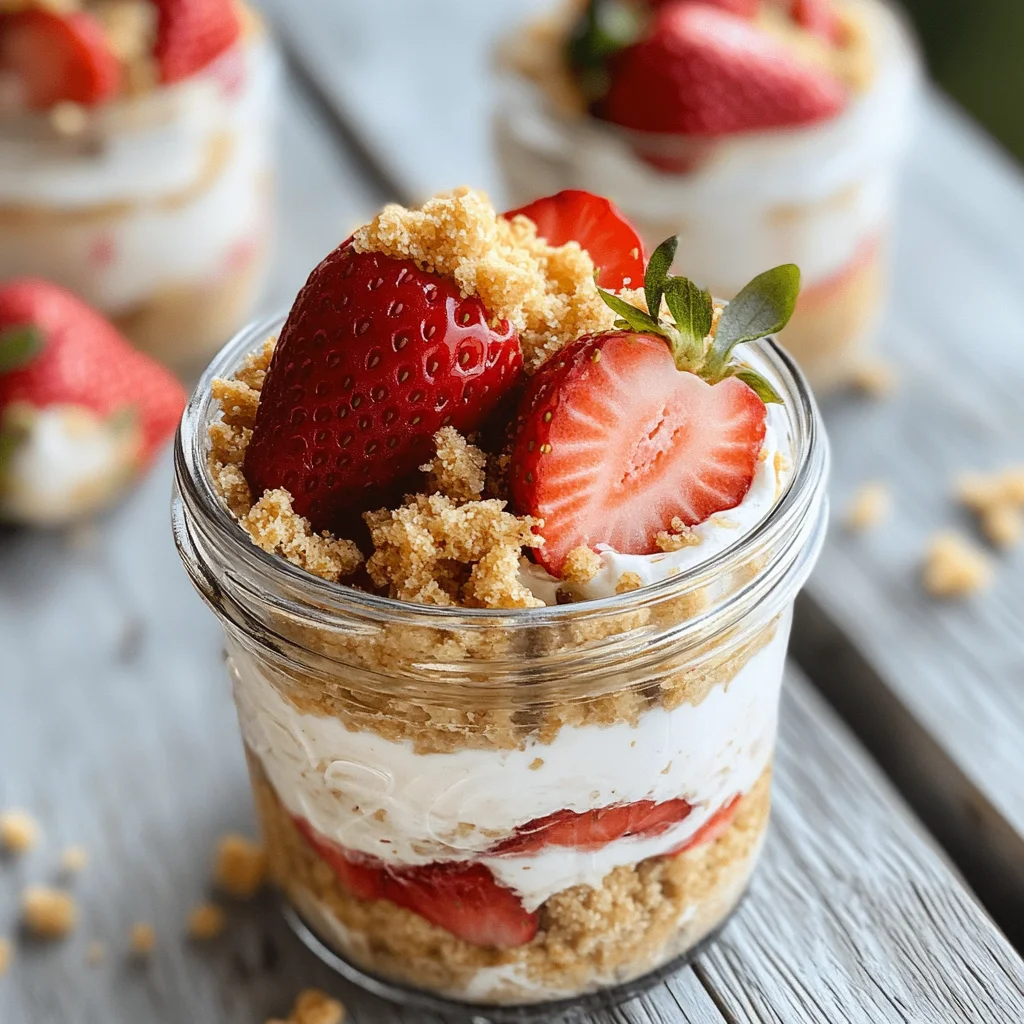
Indulge in the refreshing taste of No-Bake Strawberry Cheesecake Jars, the ultimate summer dessert that marries creamy cheesecake with the sweetness of fresh strawberries. These delightful jars are perfect for any occasion, whether it’s a picnic in the park or a family gathering at home. With layers of lightened cheesecake filling, crunchy vanilla wafer crust, and vibrant strawberry slices, each spoonful is an inviting treat that balances indulgence with a touch of guilt-free enjoyment. Prepare these easy-to-make desserts in just a few simple steps, and impress your loved ones with a visually stunning presentation!
Ingredients
- 8 oz vanilla wafers
- 3 tbsp unsalted butter (melted)
- 8 oz reduced-fat cream cheese (softened)
- ½ cup plain Greek yogurt
- ¼ cup granulated sugar
- ½ tsp vanilla extract
- Zest of 1 lemon
- 1 tsp lemon juice
- 1½ cups whipped topping
- 4 cups hulled and quartered strawberries
Instructions
- In a food processor, blend vanilla wafers into fine crumbs and mix with melted butter until clumpy.
- Distribute about 2 tablespoons of the crumb mixture into each mason jar; press down slightly.
- Chill jars in the refrigerator while preparing the cheesecake filling.
- In a bowl, combine cream cheese, Greek yogurt, and sugar; mix until smooth using a hand mixer.
- Add vanilla extract, lemon zest, and lemon juice; blend for another 30 seconds.
- Gently fold in whipped topping and 1 cup of quartered strawberries.
- Assemble jars by layering cheesecake filling and remaining strawberries; refrigerate for at least 1-2 hours before serving.
- Prep Time: 20 minutes
- Cook Time: None
- Category: Dessert
- Method: No-Bake
- Cuisine: American
Nutrition
- Serving Size: 1 jar (200g)
- Calories: 265
- Sugar: 24g
- Sodium: 130mg
- Fat: 11g
- Saturated Fat: 6g
- Unsaturated Fat: 4g
- Trans Fat: 0g
- Carbohydrates: 37g
- Fiber: 1g
- Protein: 5g
- Cholesterol: 25mg